[TOC]
一、常规操作:在主题配置文件中添加
在next主题的配置文件\themes\next_config.yml 中添加友链
1 | # Blog rolls |
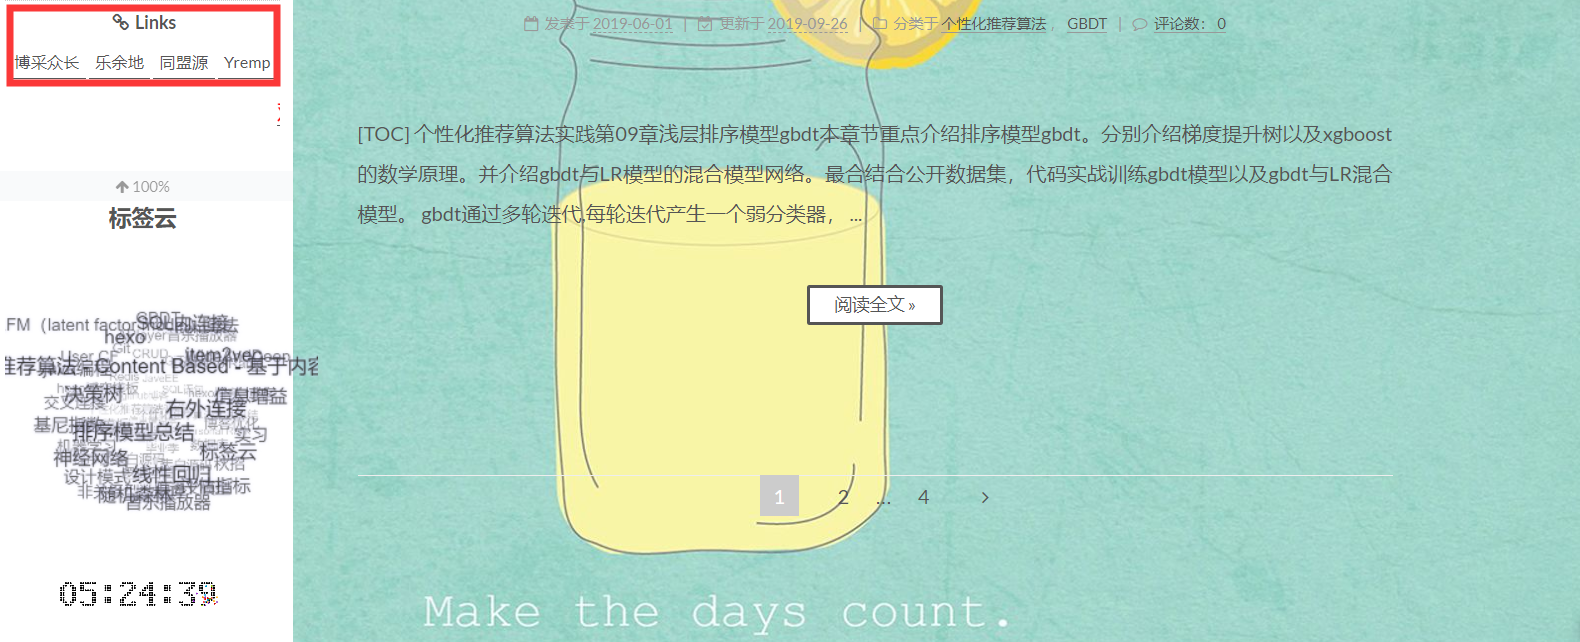
next主题 的友链,默认是在主题配置文件中 links 下添加,当链接变多以后,侧栏页面的排版很不美观。当友链达到10+以上,那么侧边栏就会很不雅观。

二、骚操作:自定义友链页面
这时候就需要给友链新增一个单独的页面了,下面说一下具体步骤。
2.1 新增 links 页面
在控制台使用命令创建:
1 | hexo new page links |
也可在博客根目录 /source 下手动创建 links 文件夹和里边的 index.md 文件
然后在博客根目录 /source 下会生成一个 links 文件夹,打开其中的 index.md 文件,在头部写入 type = “links”,这个一定要写,如下:
1 | --- |
2.2 配置 menu
主题配置文件中menu下添加:
1 | links: /links/ || link |
在 /themes/next/languages/zh-Hans.yml 文件中 menu 下增加中文描述
1 | links: 友链 |
做完这些工作,接下来就是要增加友链页面的样式了
2.3 友链页面样式
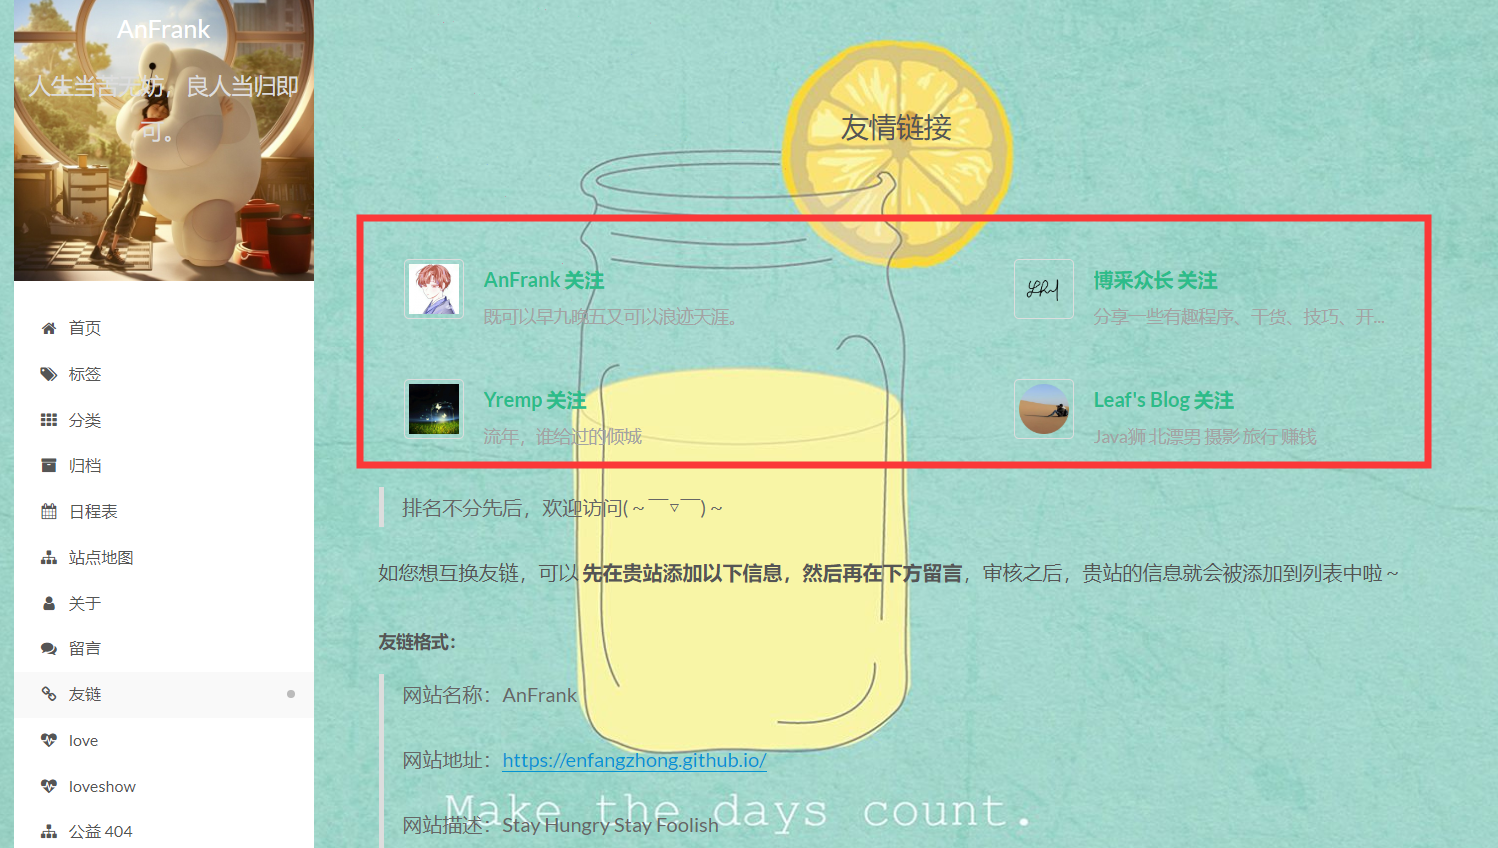
效果图:
2.3.1新增 links.swig 页
在 /themes/next/layout/ 新建 links.swig,内容如下:
1 | {% block content %} |
2.3.2 修改 page.swig
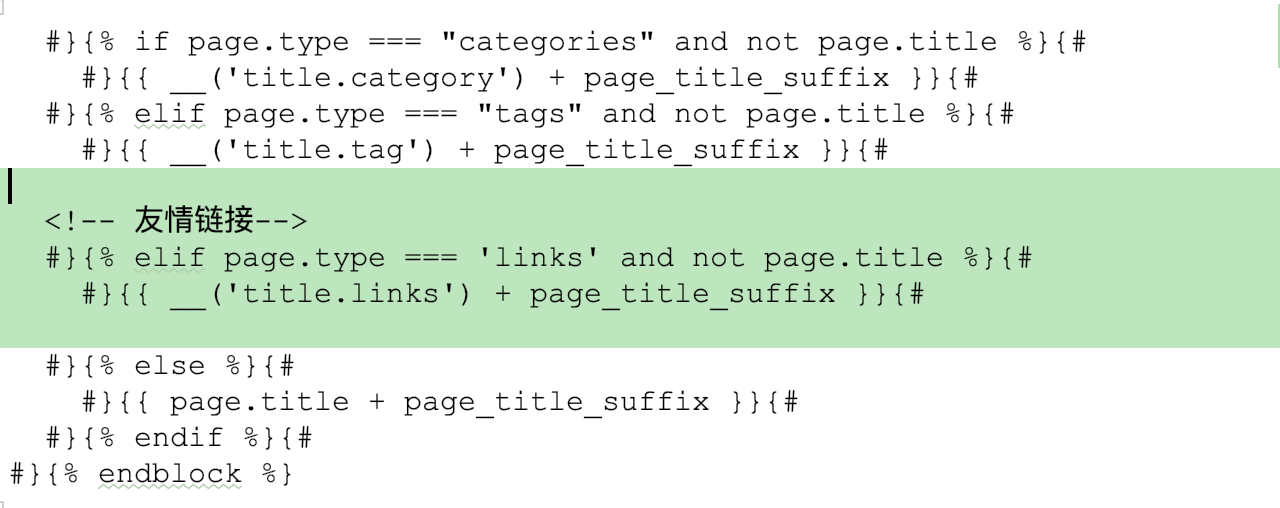
修改 /themes/next/layout/page.swig 文件,在开头的 block title 内部
1 | #}{% elif page.type === "tags" and not page.title %}{# |
这个位置下添加代码:
1 | <!-- 友情链接--> |
效果如下:
2.3.3引入 links.swig
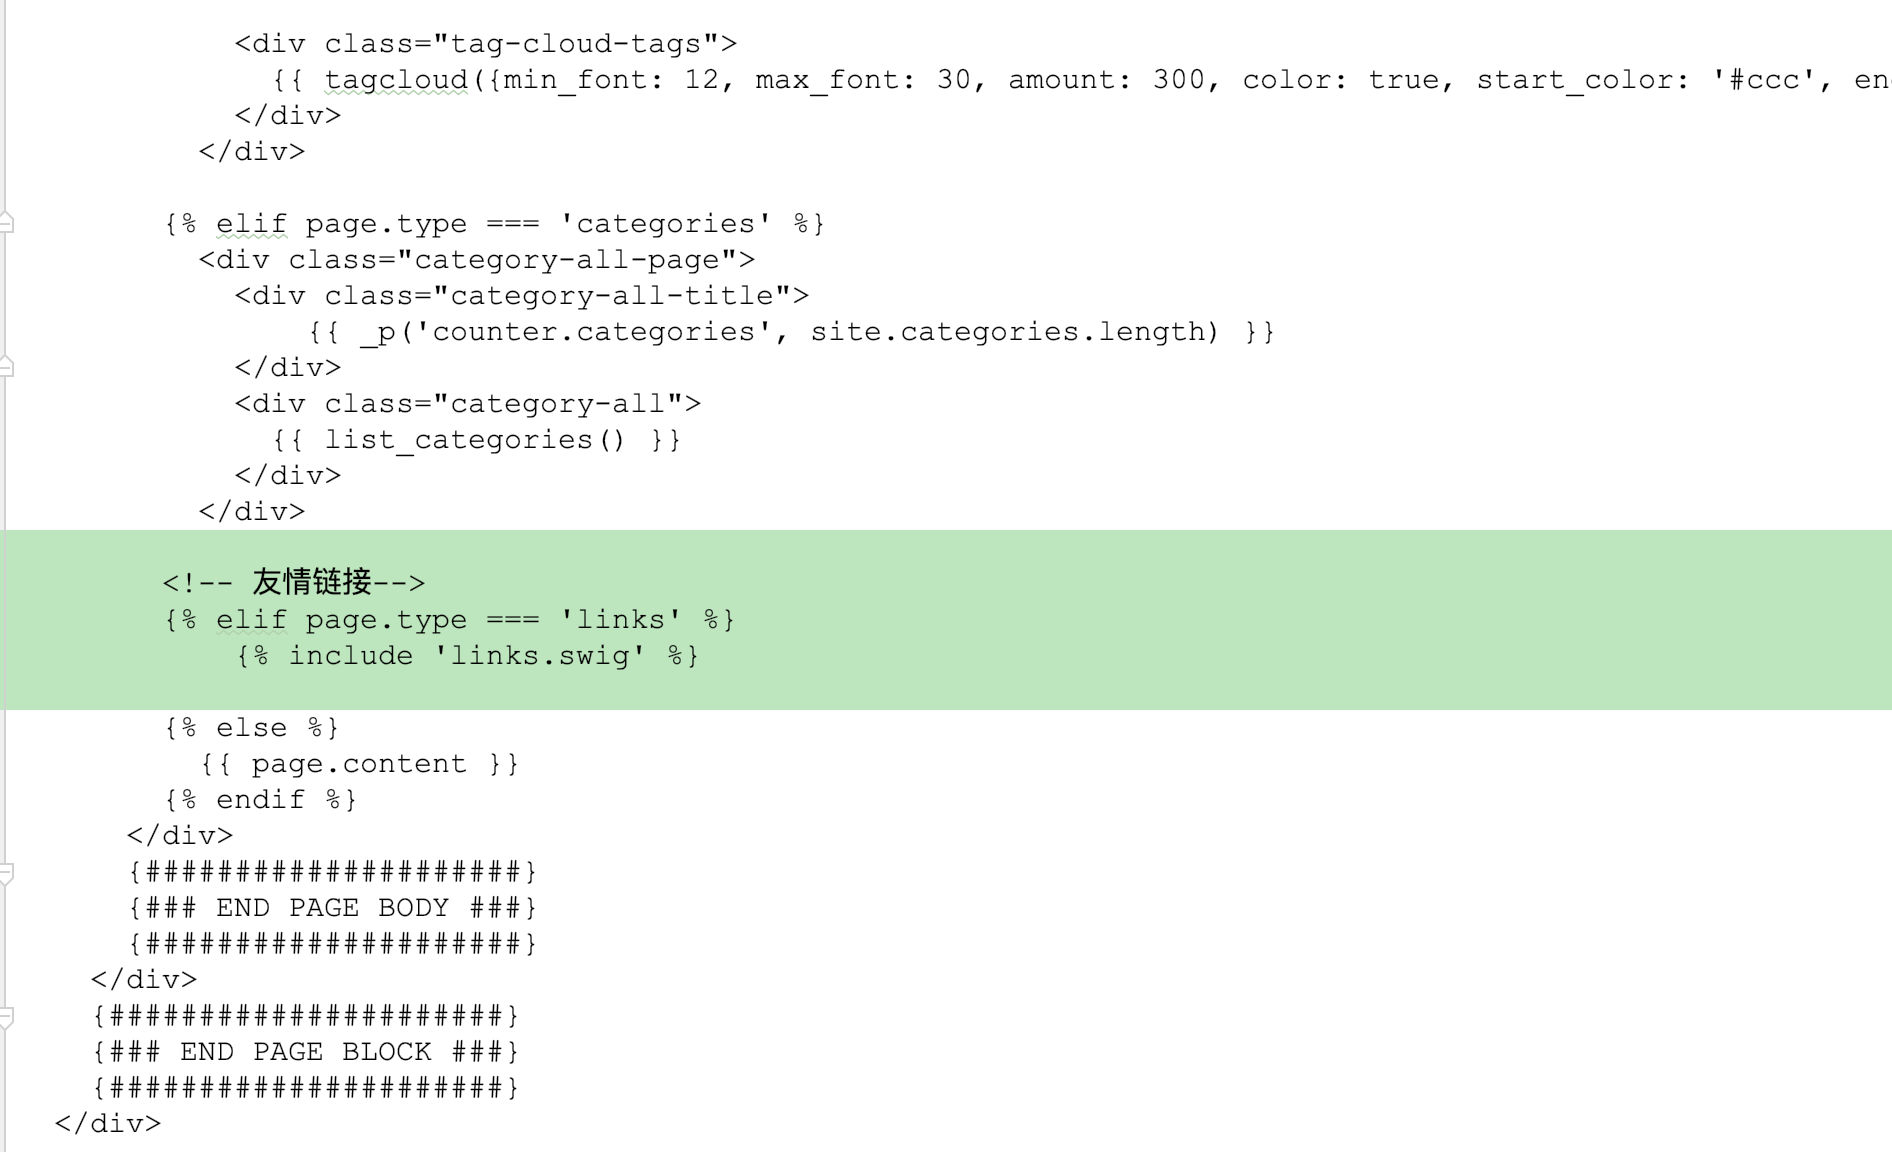
接着在 /themes/next/layout/page.swig 中 PAGE BODY 内部,引入刚才新建的 page.swig :
1 | <!-- 友情链接--> |
比如我是在
1 | {% elif page.type === 'categories' %} |
这个if下追加的:
到这里就完成页面样式的配置了。
2.4 配置友链
接下来,在 /themes/next/_config.yml 文件中配置友链,末尾处新增 mylinks ,如下
1 | mylinks: |
这里是配置了四个友链,多个的配置方式相同。
hexo 部署命令三连,看看效果吧~
1 | hexo c && hexo g -d |